Installing ESXI on the Cisco UCS Blade Server
ESXI is an Server Virtualisation Hypervisor, provided by VMware.Inc. This enables to create a Virtualized Environment by creating Virtual Machines(VM’s), which shares hardware resources.
A Cisco UCS(Unified Computing System) is a Datacenter server computer product line composed of computer hardware virtualization support, switching fabric, and management software.
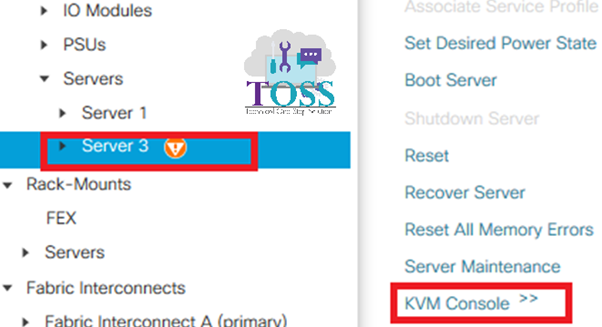
Step 1: Login to the UCS Manager – Select the Server to install the ESXi which will be under Equipment – Chassis – Servers
Once you select the server – in the General Tab – Select KVM Console (this opens in a new tab browser)
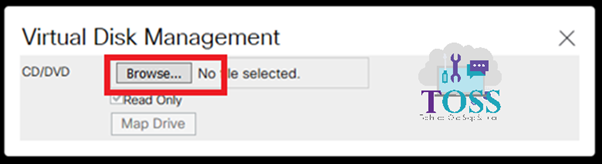
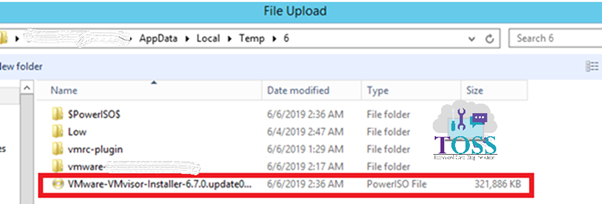
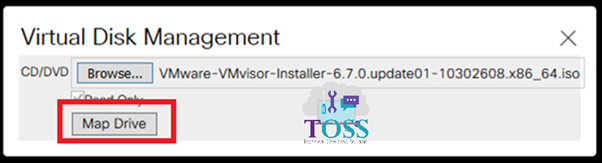
Step 2: Now Attach the ESXi ISO Image to the Blade server. Select the Virtual Media – CD/DVD – Browse the ISO image and Map the Device

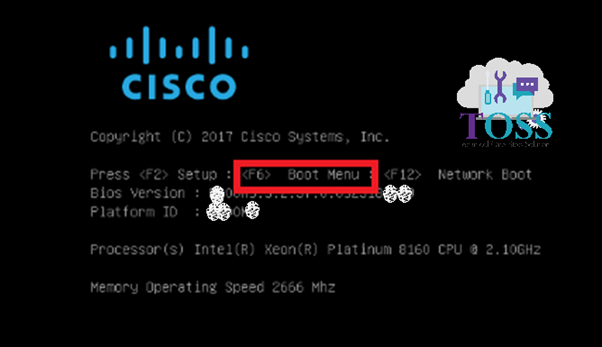
Step 3: Once the ISO Image is attached – While the blade is booting – Enter to the Boot Menu by pressing F6
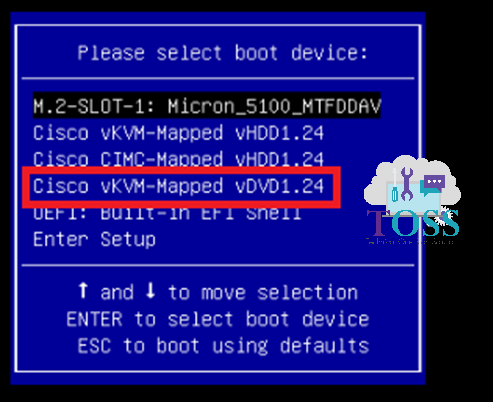
Select the boot device as DVD
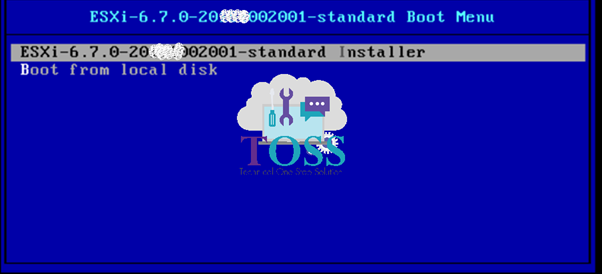
Step 4: Now we get the screen to boot the OS using the DVD – Select the ESXi ISO Image
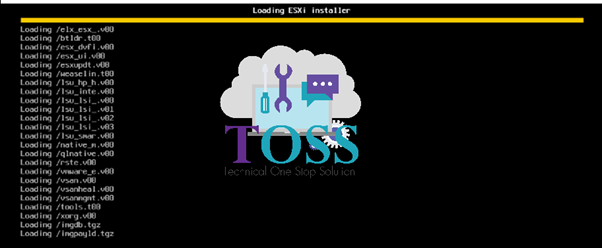
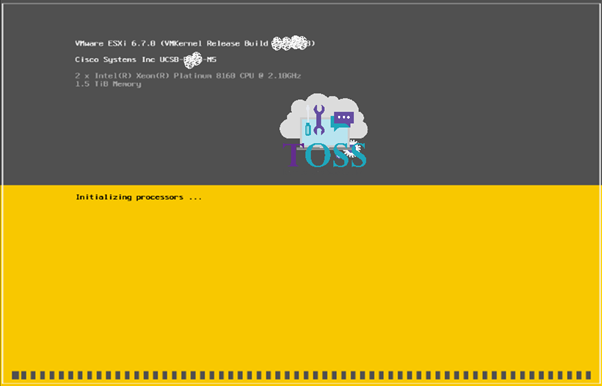
Step 5: Now the ESXi Image loads

Step 6: Once the Image loads all the files, the Initializing process starts
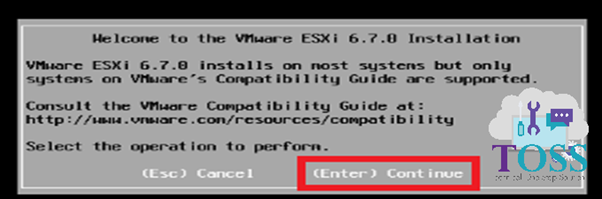
Step 7: After the Initialization completes, Provide the Consent to proceed
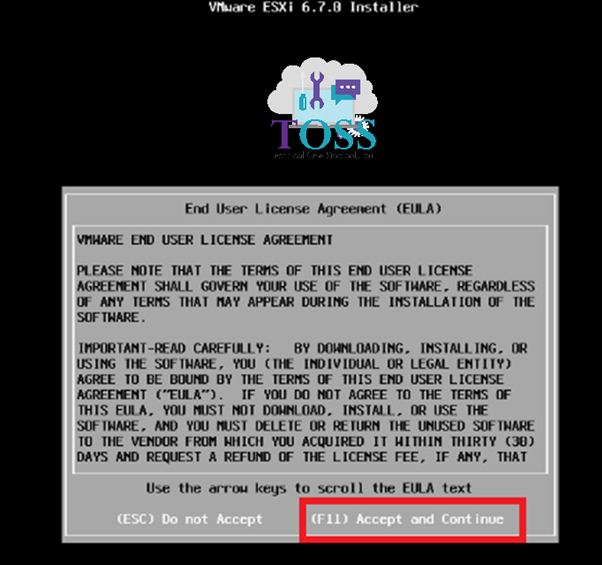
Step 8: Accept the License Agreement by press F11
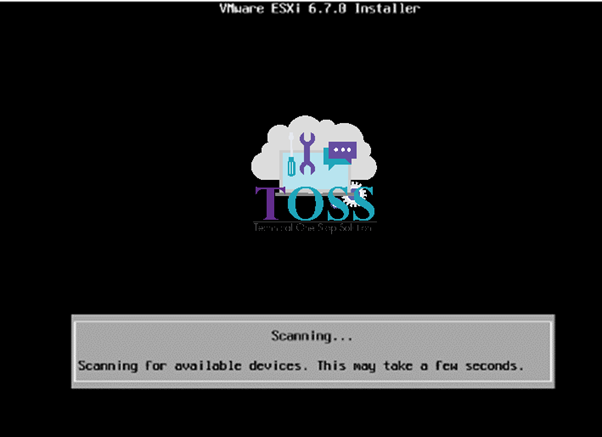
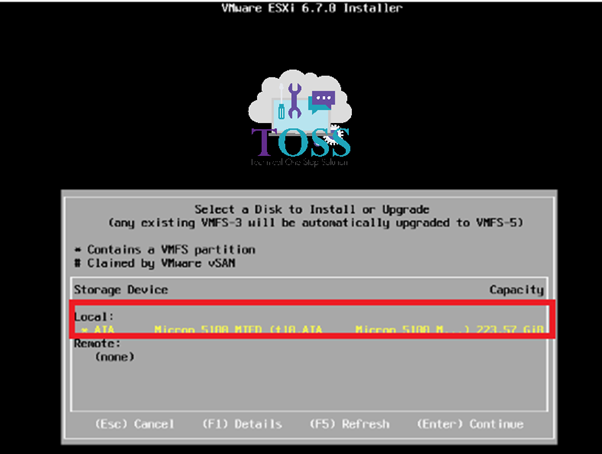
Step 9: Scans for the Hard Drives to install or upgrade the ESXi Image
Step 10: Select the Hard disk to install the ESXI Image – Local or Remote
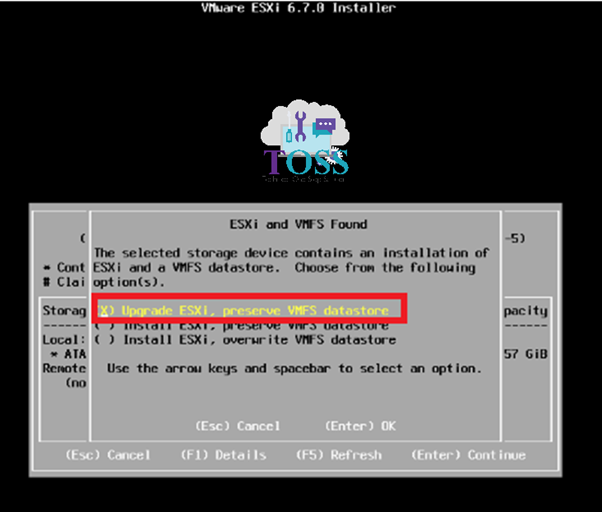
Step 11 : Select the option to proceed – if you already have existing ESXI Image – Select upgrade otherwise install new ESXi
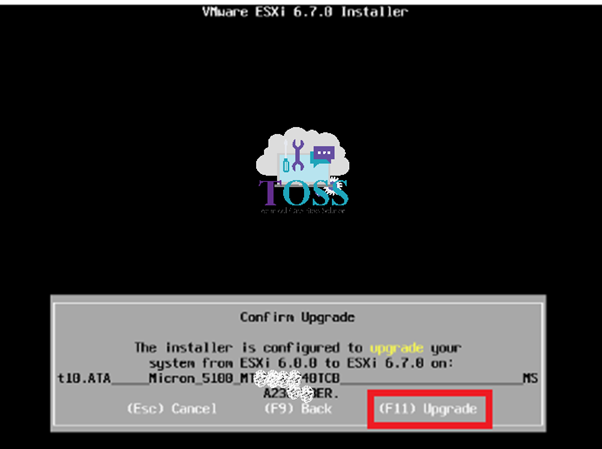
Step 12: Confirm the option selected by pressing F11
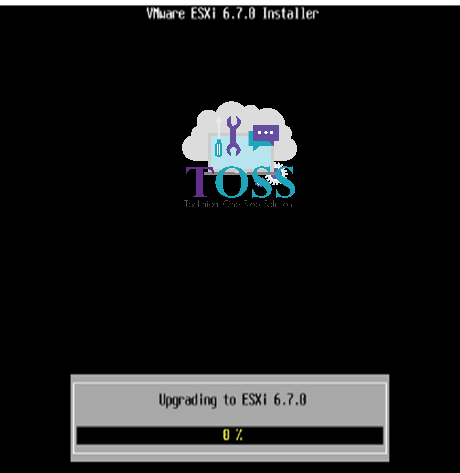
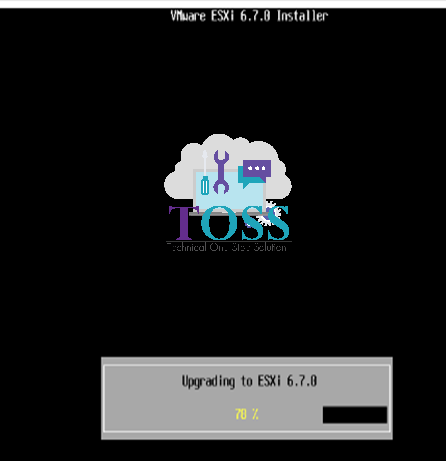
Step 13: Installation/Upgradation Progresses
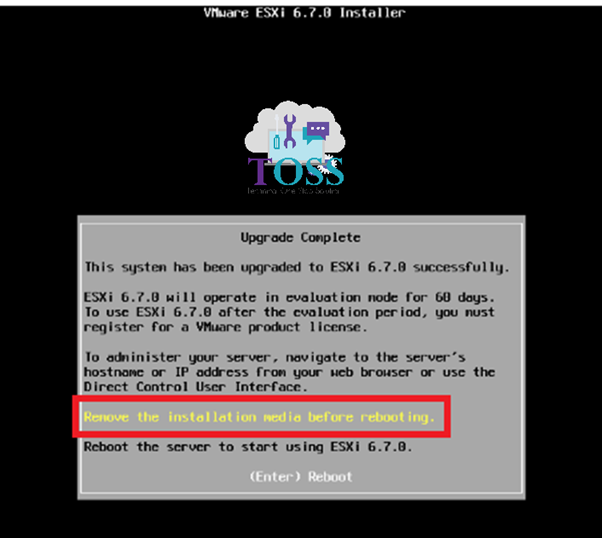
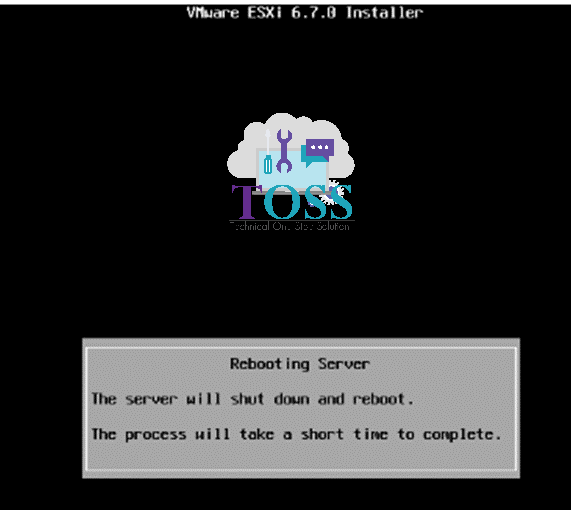
Step 14 : Once after the installation is completed – Select Remove Media and Reboot the Blade to load the newly installed ESXi Server
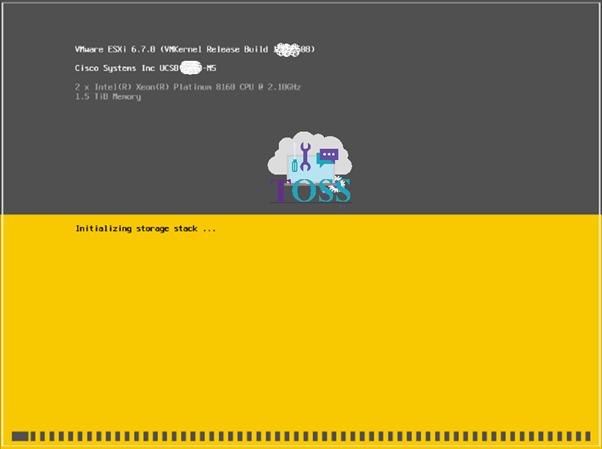
Step 15: After Reboot, the ESXi loads the files and initialises the OS

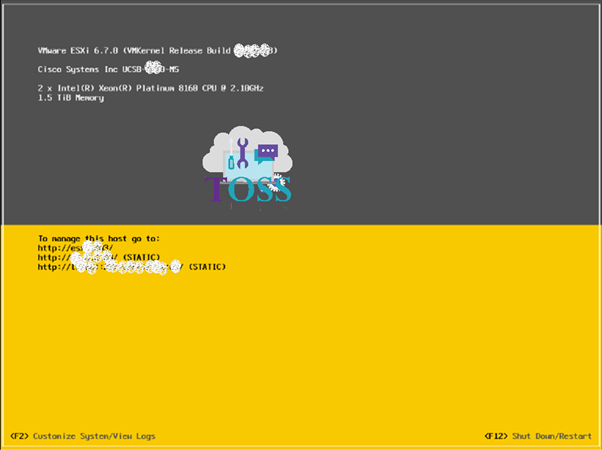
Step 16 : Once its completed, you will get the Login Screen to the ESXi Server
If you face any issue in any steps, please mention it below, so that we will help you to resolve it ASAP.