Snipping tool
Why Snipping tool?
Snipping tool helps us to quickly select and copy the portion of image on the screen which we want it for the further use.
As before if we want the content which is on the screen, we were taking the screen shot of it and then go to paint then, crop then, copy then, paste it was a bit long procedure and quite time consuming.
By using Snipping tool you will be able to take the content which is on the screen in an effective way which saves some time.
Let us see how to use the Snipping tool hierarchically
How to use “Snipping tool” in Windows
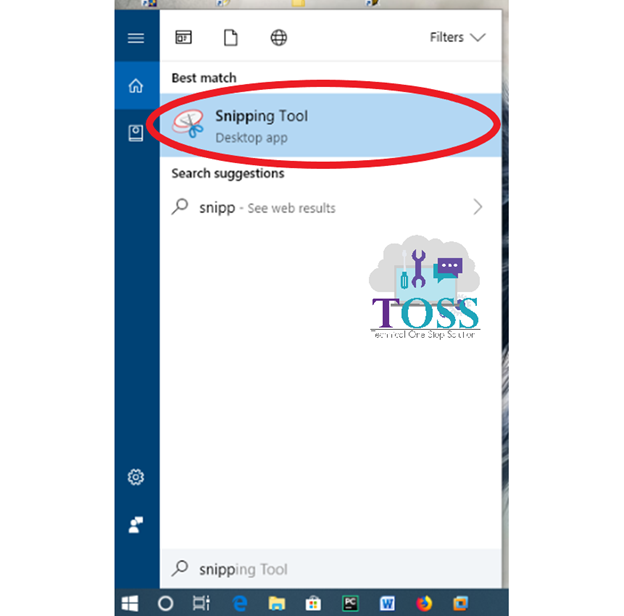
Step 1: Click”start button” >> type “Snipping tool” >> click on it
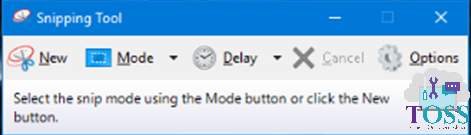
Step 2: Click >> new button
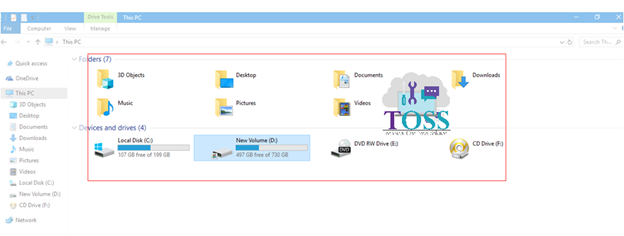
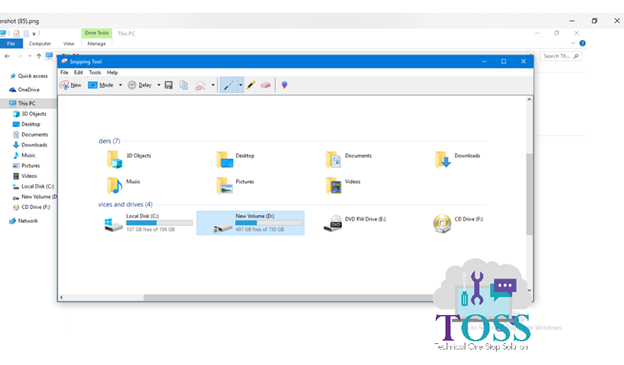
Step 3: You will find the screen with a bit foggy at background.
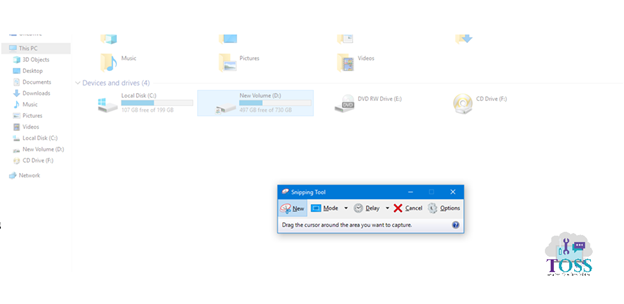
Step 4: select the part which you want to copy.
Step 5: You will find the screen with a dialog box of Snipping tool having the selected portion.
You can save, copy, edit, etc…
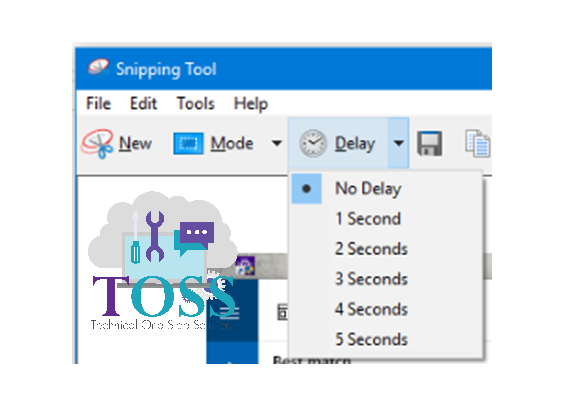
Here are some of the functions or the things which you can look after in your Snipping tool.
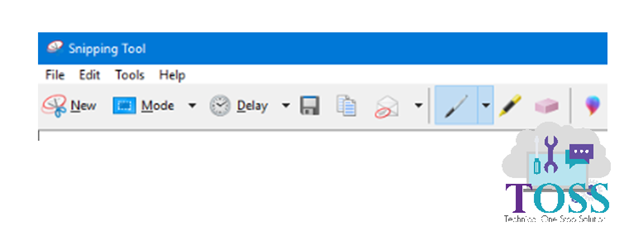
File:
- New Snip where you can create your new snip.
- Save as where you can save your snip into any of the file you want.
- Send to is where you can send the snip via mail.
- Print will print the image.

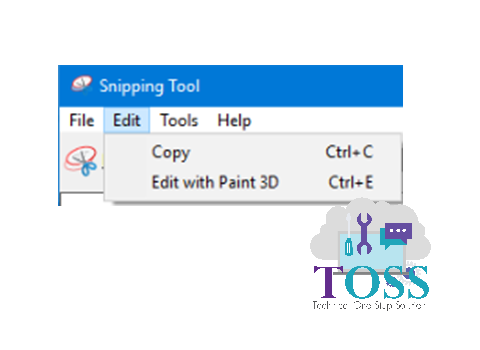
Edit:
- Copy where you can copy the image and paste it anywhere.
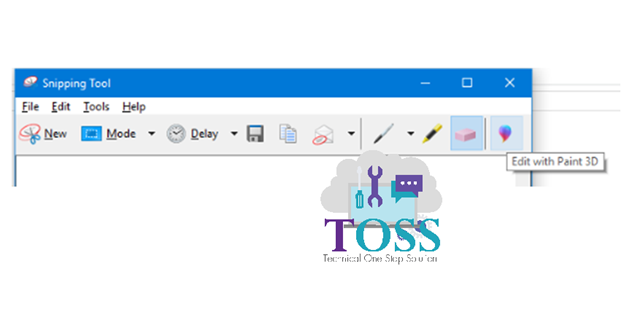
- And you can also edit with 3D paint.
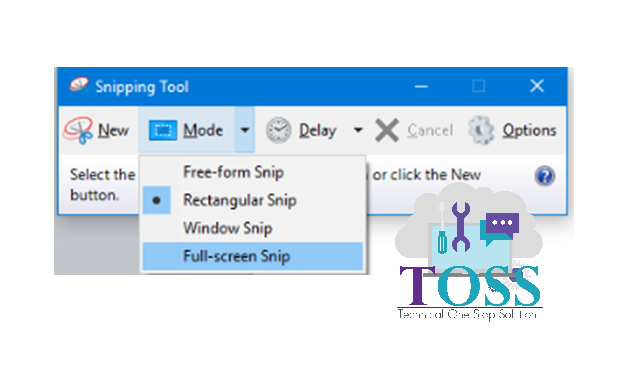
Mode:
- Free-from snip helps you to select as you want to crop by your own as shown below,

- Rectangular snip helps you to take the snip in square or in rectangular shape, as the below snip is rectangular/square.
- Window snip takes the image of the current window completely.
- Full screen snip just takes the screen shot.
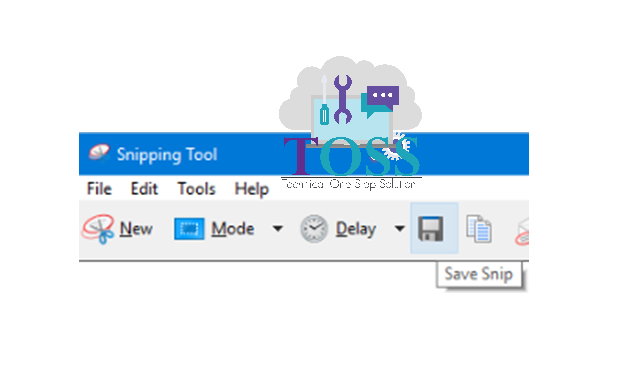
You can save the image directly by clicking below button (save snip)
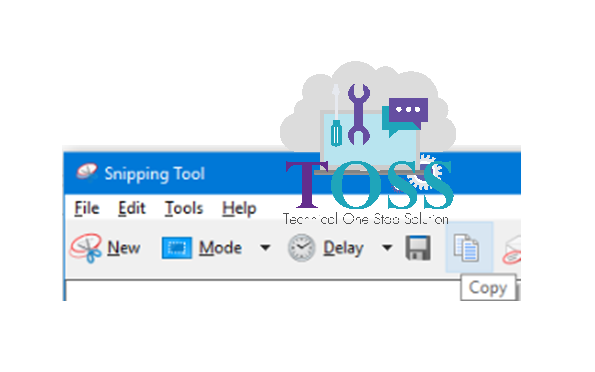
You can copy the image directly by clicking below button (copy)
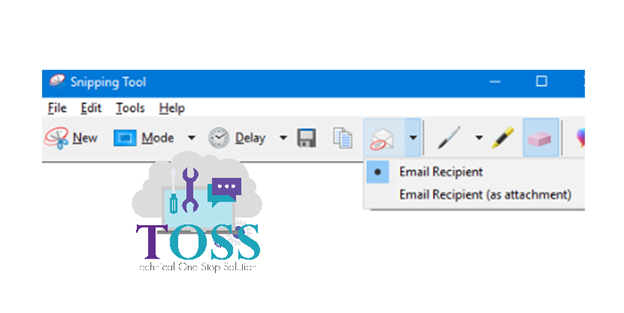
You can send the image directly via mail by clicking below button
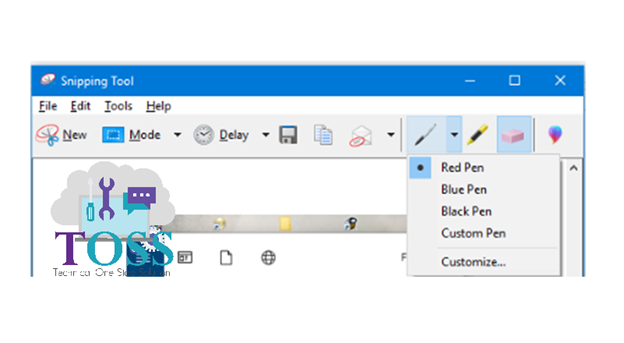
You can edit the image by having some pen and you can select the color accordingly as shown below
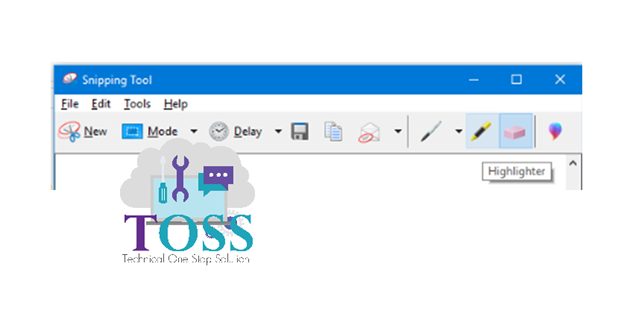
This is the highlighter where you are able to highlight the content as per your choice.
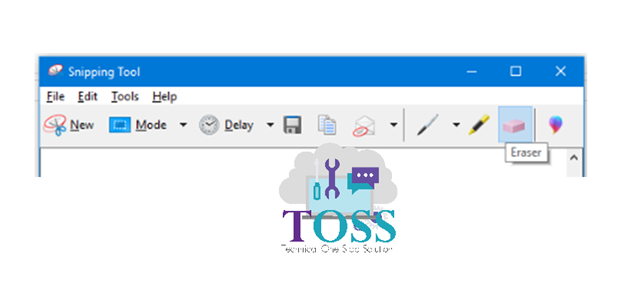
It’s an eraser.
You can also edit the image directly where we have an option to edit with 3D paint.