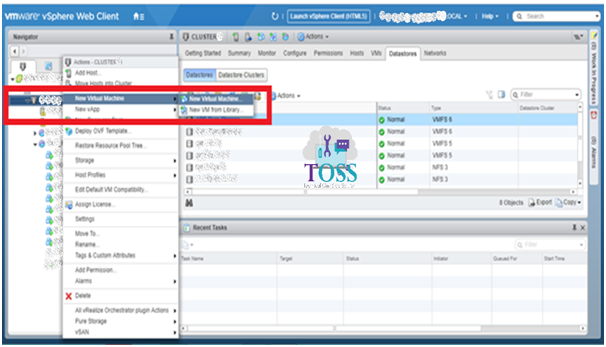
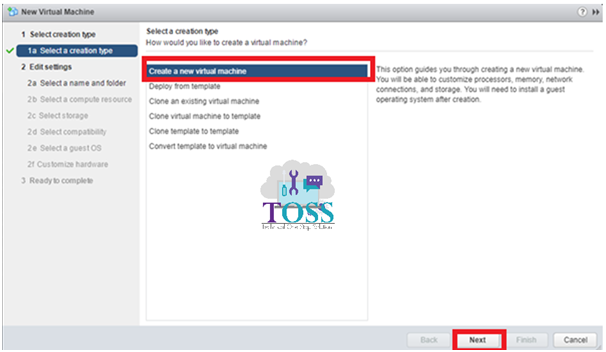
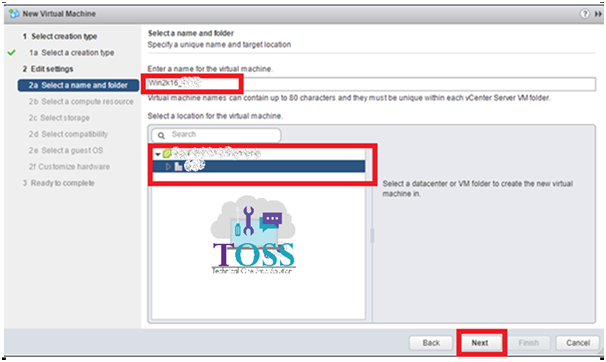
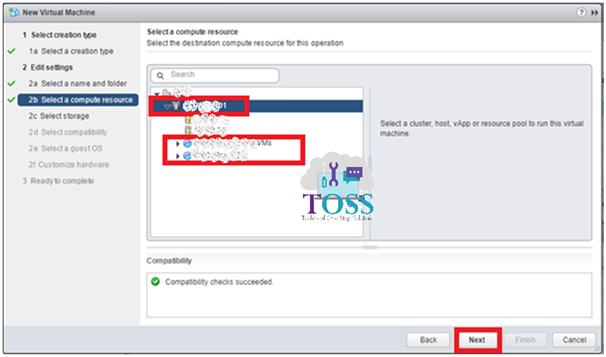
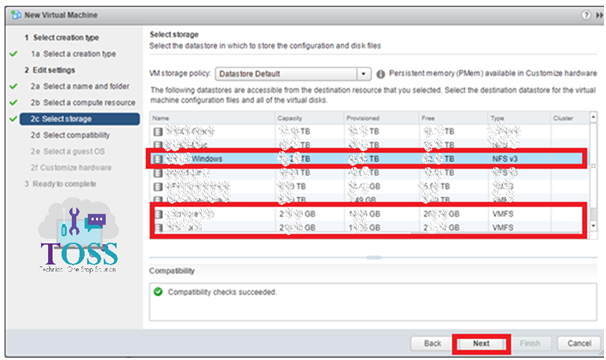
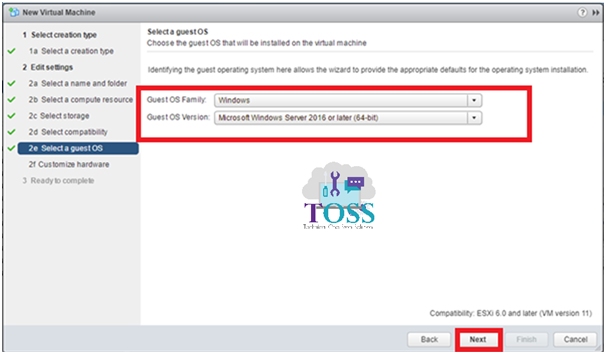
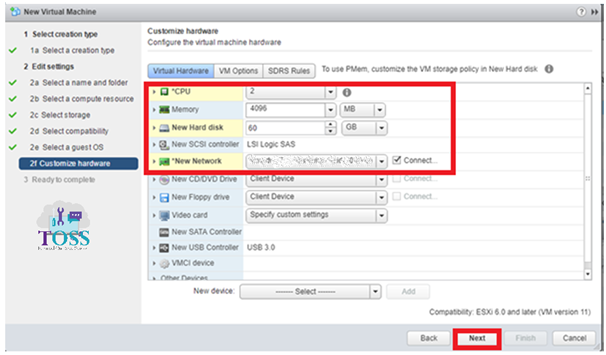
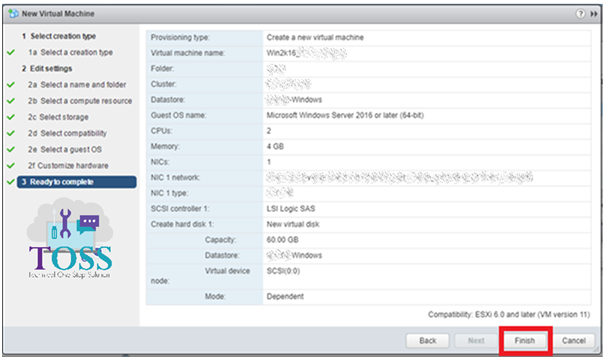
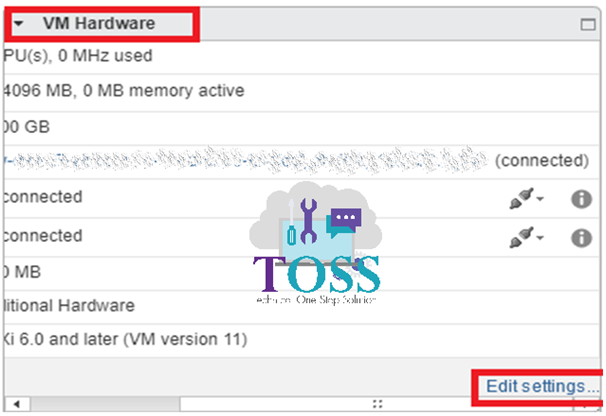
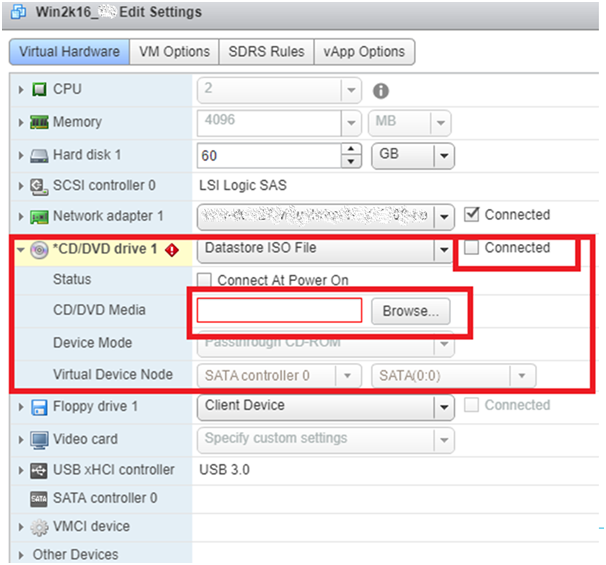
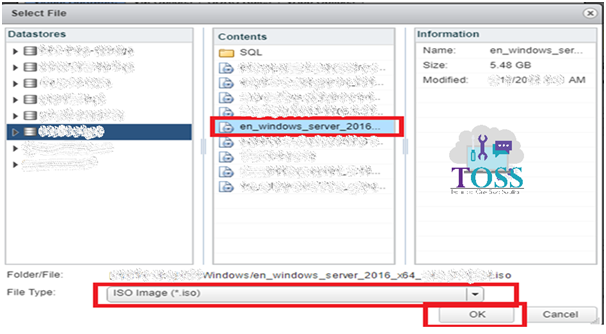
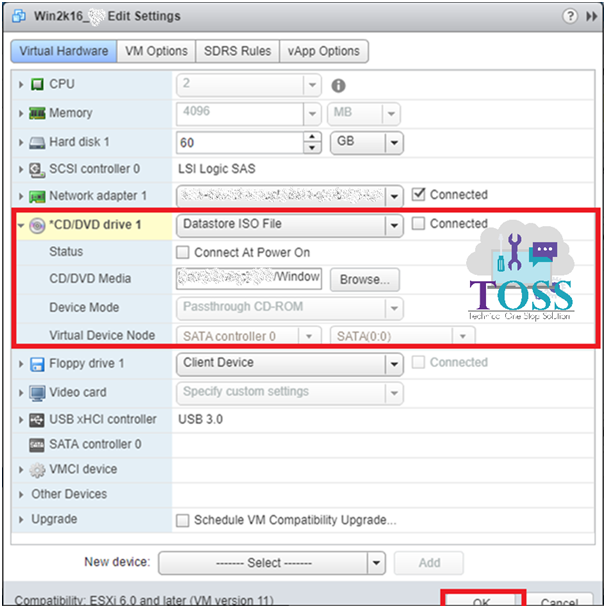
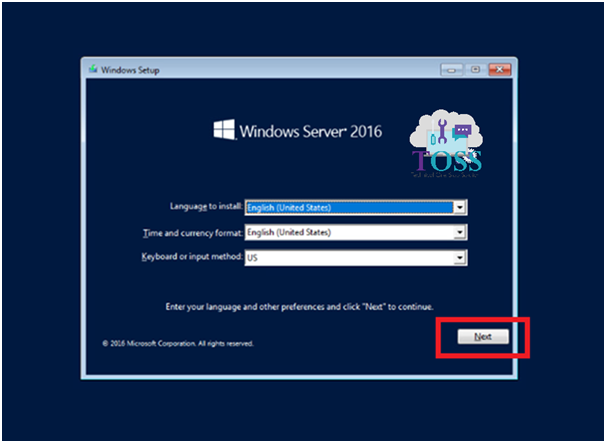
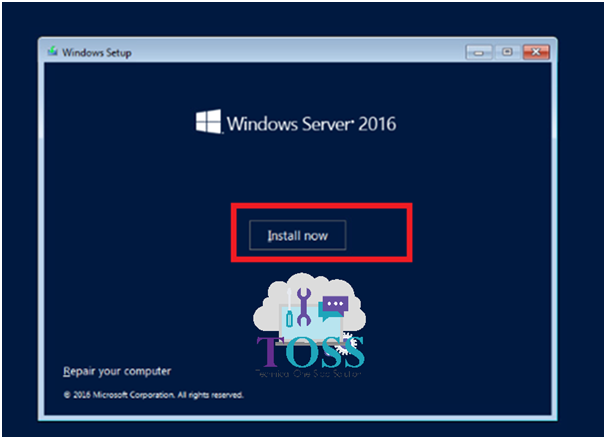
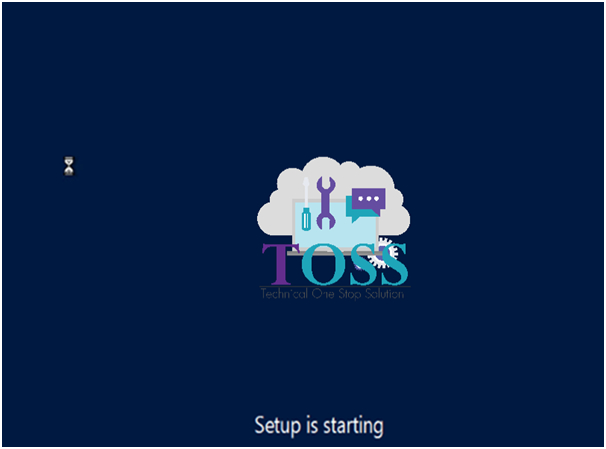
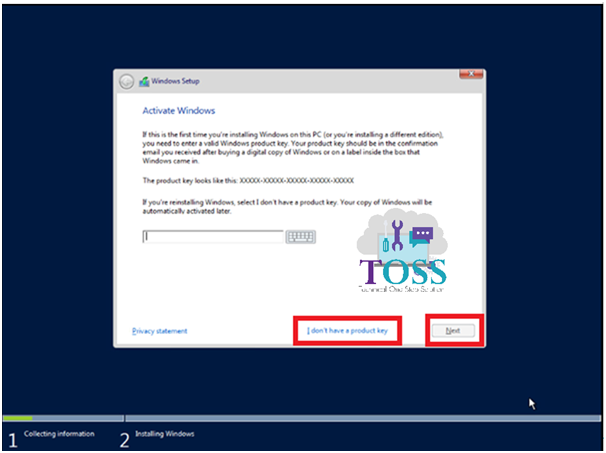
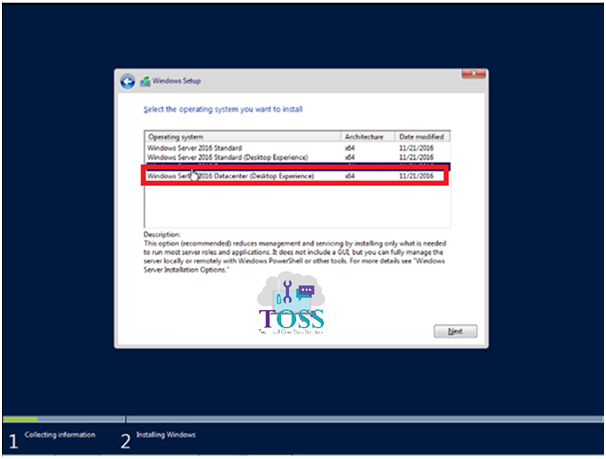
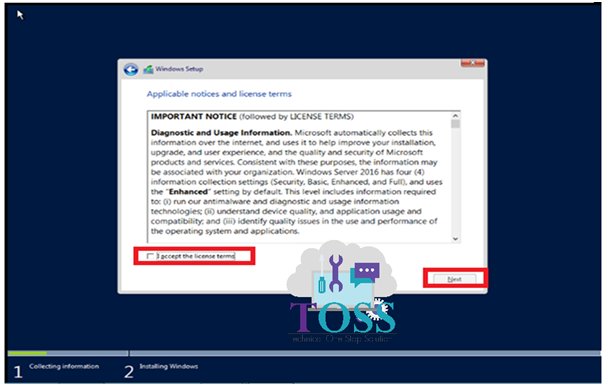
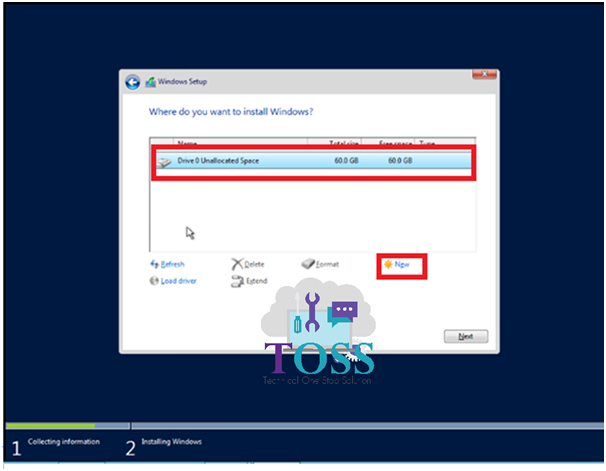
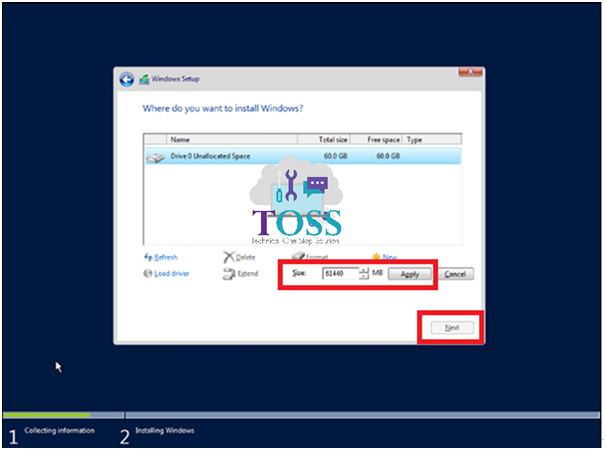
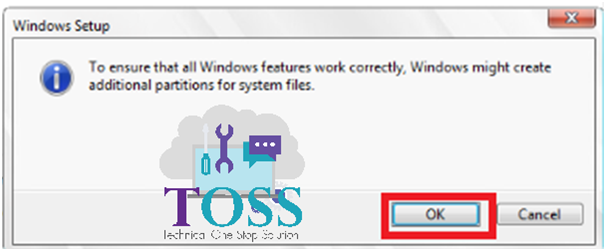
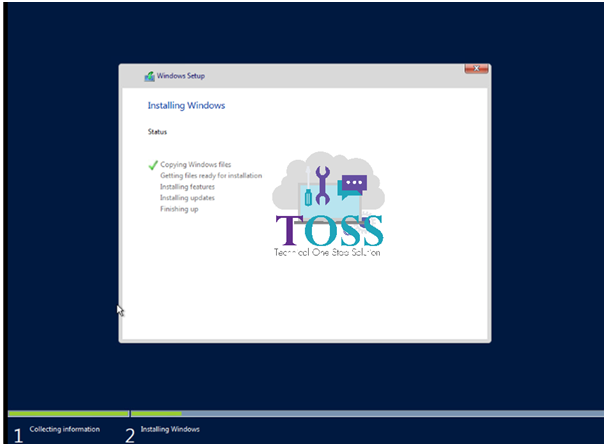
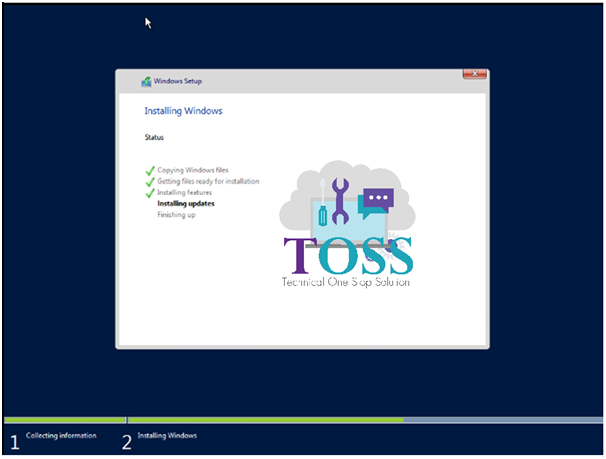
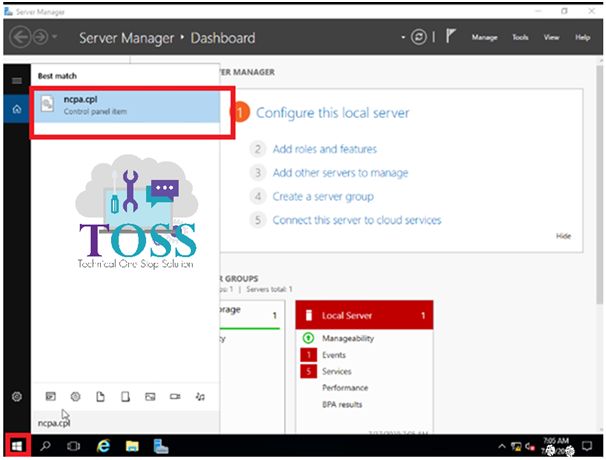
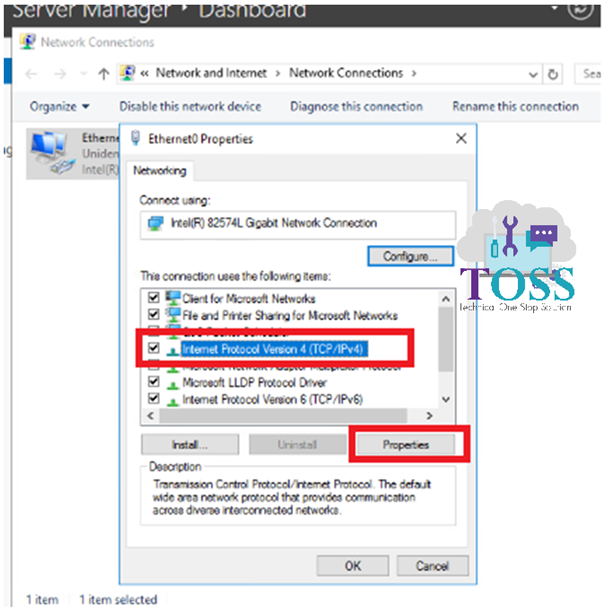
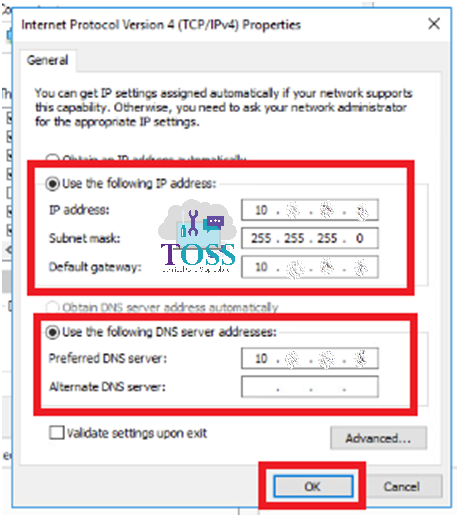
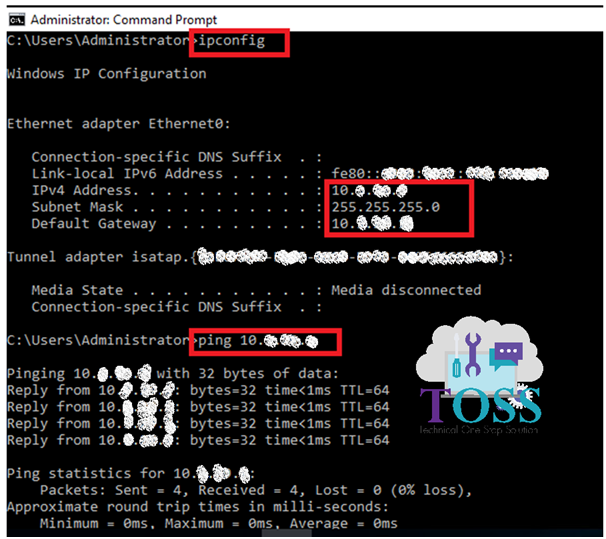
Creating a new Virtual Machine on VMWare vSphere Web Client and Installing the Windows Server 2016 OS by S GPosted onJuly 23, 2019January 19, 2021 In this blog we will learn Creating an new Virtual Machine (VM) on VMWare Vsphere Web Client and Installing the Windows 2016 Operating System Below are the easy and simple steps to Creating an new Virtual Machine on VMWare Vsphere Web Client and Installing the Windows 2016 Operating System Step 1: Right click on Cluster/Resource Pool – Select New Virtual Machine and again select New Virtual Machine Step 2: Select Create a New VM Step 3: Provide a Name to the VM and location to place the VM Datacenter Step 4: Provide the location to place the VM (Cluster/Resource Pool) Step 5: Select the datastore to store the Virtual Machines files. Step 6: Select the compatibility for the Virtual Machine(This shows the VM can runs on which ESXi platform) Step 7: Select the Guest OS Family(Windows/Linux/Solaris) and OS version Step 8: Provide the Hardware specs to create the new Virtual Machine. Step 9: Review and complete to create New Virtual Machine Step 9: We can see the VM is created and click on the Power On and click console to get the console of the VM Step 10: Attach the ISO of the OS by expanding the VM hardware in the Summary Tab and select Edit Settings Browse the Datastore ISO or local ISO(I have selected Datastore ISO) and select Connected Installing Windows Server 2016 on VMWare Restart the VM. The VM boots using the CD/DVD and the Windows Installation screen appears – Click Next Select Install NOW Setup starts Provide the Product Key of the windows Installation. If you don’t have the Product Key- Select “I don’t have the Product Key” Select the OS Edition to install Accept the License Agreement Select the Type of Installation – Upgrade (if you have Windows 2012 version already installed) Custom (If you are doing fresh installation) I have selected Custom Select the Disk to install the Windows OS. Currently we have only one disk attached to the VM. Select the New Create the Drive with the space required. Min required is 32GB of Hard disk The Windows Installation creates System Reserved Space during the Disk Space Creation Installation Begins After installation of OS successfully, the VM reboots and prompts to set the administrator Password. Press Ctrl + Alt + Delete Login with the Administrator Password Go to the Control Panel – Networking or ncpa.cpl (shortcut to set IP) Right click on the Ethernet – Properties and Select TCP/IPv4 – Properties Set the IP address, Subnet Mask, Gateway IP and DNS Server IP Address for the connectivity Open the Command Prompt and Check the IP address settings and ping to the Gateway We hope this is easy and reliable steps for Creating new VM on VMWare vSphere and Installing the Windows OS toss You can find more blogs on VMware at this link To read more about Windows you can go to this link On our Facebook page you can find the latest updates and good knowledge transfer things on technology. Share this:Click to share on Facebook (Opens in new window)Click to share on Telegram (Opens in new window)Click to share on LinkedIn (Opens in new window)Click to share on Twitter (Opens in new window)Click to share on WhatsApp (Opens in new window)Click to share on Skype (Opens in new window)Click to share on Tumblr (Opens in new window)MoreClick to share on Reddit (Opens in new window)Click to share on Pocket (Opens in new window)Click to share on Pinterest (Opens in new window)Like this:Like Loading...