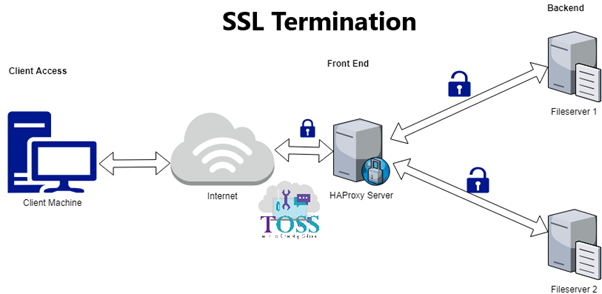
Configuring HAProxy SSL Termination
HAProxy is free, open source software that provides a high availability load balancer and proxy server for TCP and HTTP-based applications that spreads requests across multiple servers.
We can Configure HAProry in 2 methods
Here we will discuss about Configuring HAProxy SSL Termination
In order to implement the HAProxy SSL Termination, the SSL certificate and key pair should be in the proper format.
You have to create/have a .pem file by combining SSL certificate and the private key.
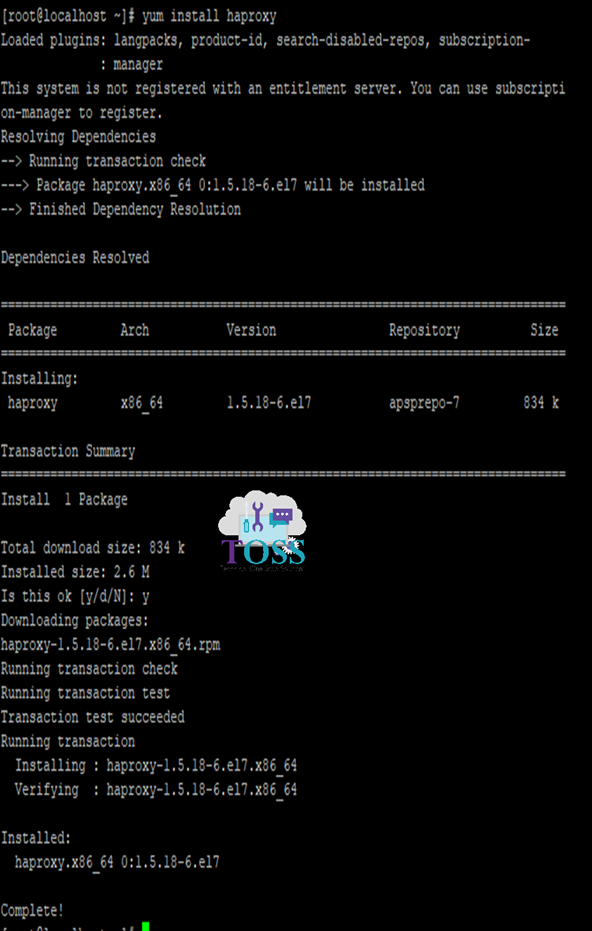
1 . Install haproxy from the yum repo (make sure the VM is subscribed)
2 . Modify /etc/haproxy/haproxy.cfg (create backup copy, first, if not part of your standard process)
# Sample haproxy.cfg
#———————————————————————
# Example configuration for a possible web application. See the
# full configuration options online.
#
# http://haproxy.1wt.eu/download/1.4/doc/configuration.txt
#
#———————————————————————
#———————————————————————
# Global settings
#———————————————————————
global
# to have these messages end up in /var/log/haproxy.log you will
# need to:
#
# 1) configure syslog to accept network log events. This is done
# by adding the ‘-r’ option to the SYSLOGD_OPTIONS in
# /etc/sysconfig/syslog
#
# 2) configure local2 events to go to the /var/log/haproxy.log
# file. A line like the following can be added to
# /etc/sysconfig/syslog
#
# local2.* /var/log/haproxy.log
#
log 127.0.0.1 local2
chroot /var/lib/haproxy
pidfile /var/run/haproxy.pid
maxconn 4000
user haproxy
group haproxy
daemon
tune.ssl.default-dh-param 2048 # Add this setting to enable HTPPS Access
# turn on stats unix socket
stats socket /var/lib/haproxy/stats
#———————————————————————
# common defaults that all the ‘listen’ and ‘backend’ sections will
# use if not designated in their block
#———————————————————————
defaults
mode http
log global
option httplog
option dontlognull
option http-server-close
option forwardfor except 127.0.0.0/8
option redispatch
retries 3
timeout http-request 10s
timeout queue 1m
timeout connect 10s
timeout client 1m
timeout server 1m
timeout http-keep-alive 10s
timeout check 10s
maxconn 3000
#———————————————————————
# main frontend which proxys to the backends
#———————————————————————
frontend https-in #create a frontend
bind *:443 ssl crt <path_of_certificate.pem> # you need to have the relevant certificate for the domain.
default_backend app #This settings points to backend server named ‘app’
#———————————————————————
# static backend for serving up images, stylesheets and such
#———————————————————————
#backend static
# balance roundrobin
# server static 127.0.0.1:4331 check
#———————————————————————
# round robin balancing between the various backends
#———————————————————————
backend app
balance roundrobin
server app1 192.168.1.1:32064 check # the IP and Port to be defined based on backend server IP and port number
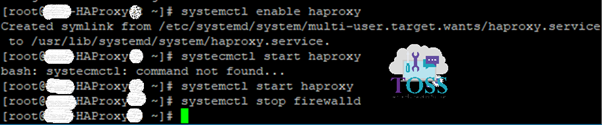
3 . Enable the Services
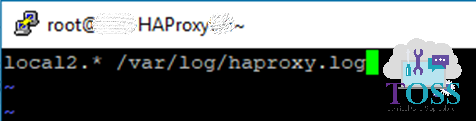
4 . Enable the Haproxy logging
a . Uncomment the line below the file /etc/haproxy/haproxy.cfg

b . Restart the haproxy service:
# systemctl restart haproxy.service
c . Uncomment the following lines of the file /etc/rsyslog.conf and add the $UDPServerAddress line

d . Create the file haproxy.conf in directory /etc/rsyslog.d/ with content below
# vi /etc/rsyslog.d/haproxy.conf
e . Restart the rsyslog service
# systemctl restart rsyslog.service
f . Check access logs of the haproxy in the below file
/var/log/haproxy.log
If you want to configure the HAProxy with SSL Bypass go through this blog
Simple and easy….