Installing Git 2.21.0 on Windows
In this Blog we will discuss how to Install Git 2.21.0
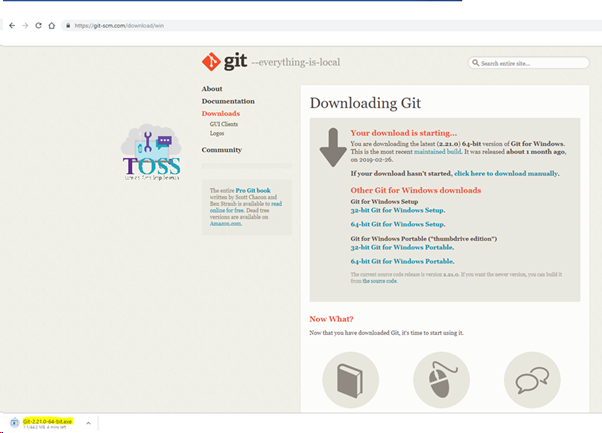
In google Search for Git for windows > Select First one or go to below URL

Based on Your operating system Download the package
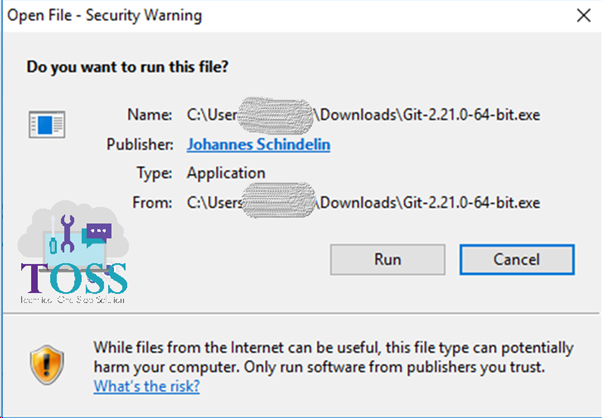
Once Download is completed, execute the installer package
It will ask for Security Warning based on your Operating System and permission > Click on ‘Run’
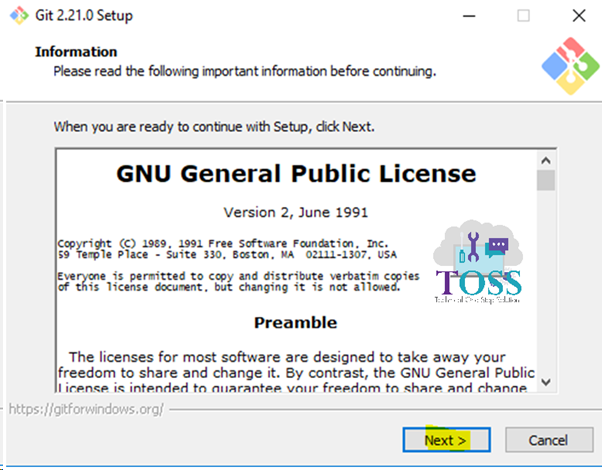
Git 2.21.0 package we have downloaded and the same will be installed.
Click on ‘Next’
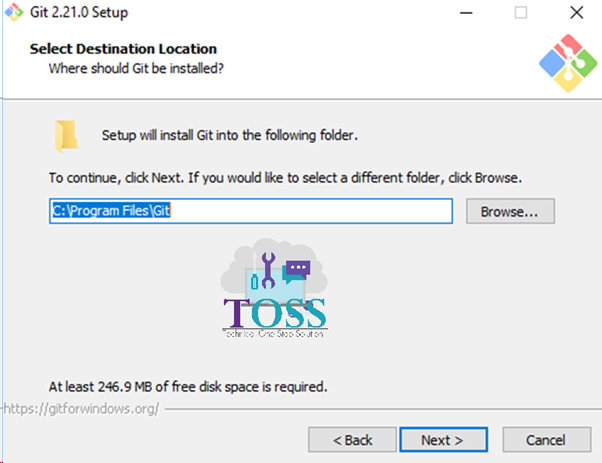
Select the Installation Folder > Click on ‘Next’
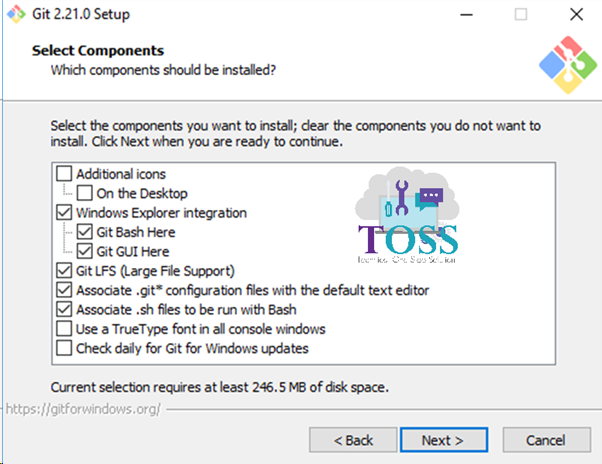
Select the Components which you required to install and click on ‘Next’
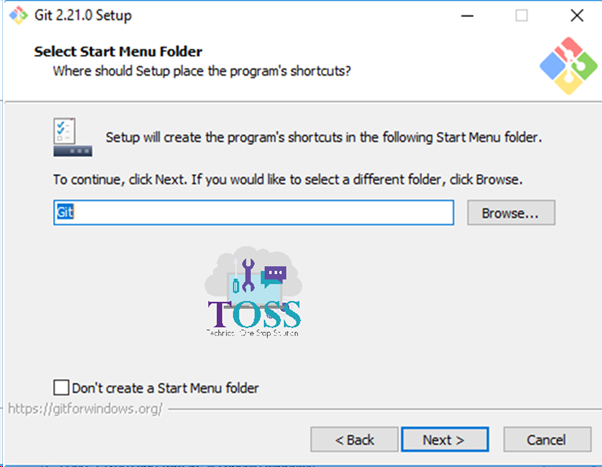
You can give your own name in the Program’s shortcut, Provide the name and click ‘Next’
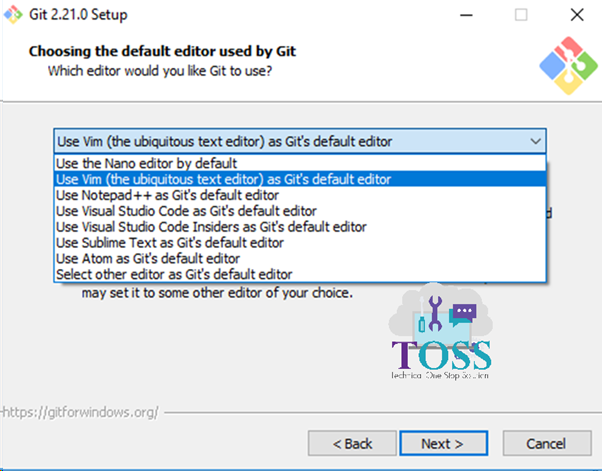
Select the Editor which you like to use….
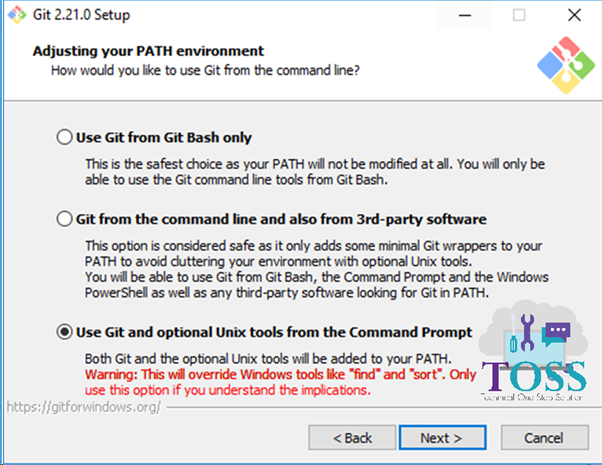
Select the Environment…
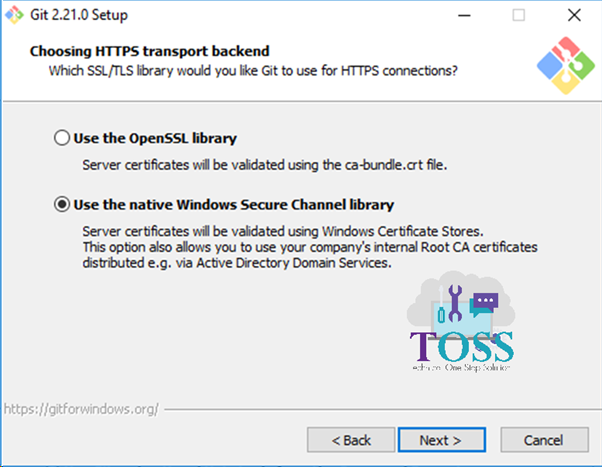
Select the HTTPS transport to be taken place in back-end. And Click ‘Next’
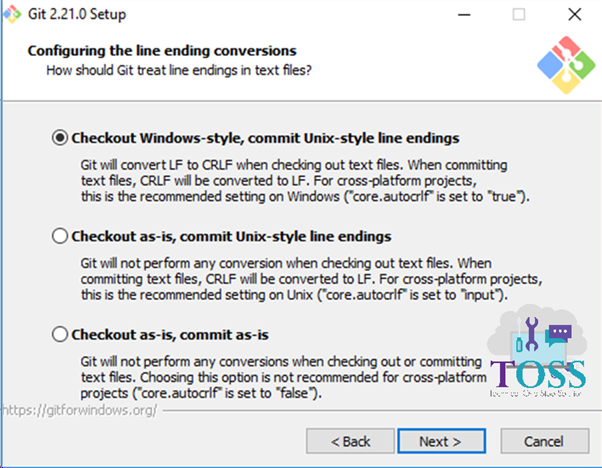
Click ‘Next’
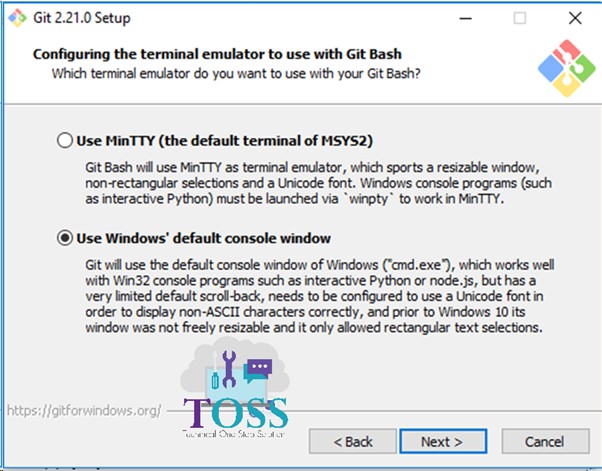
Configure the Terminal Emulator and Click ‘Next’
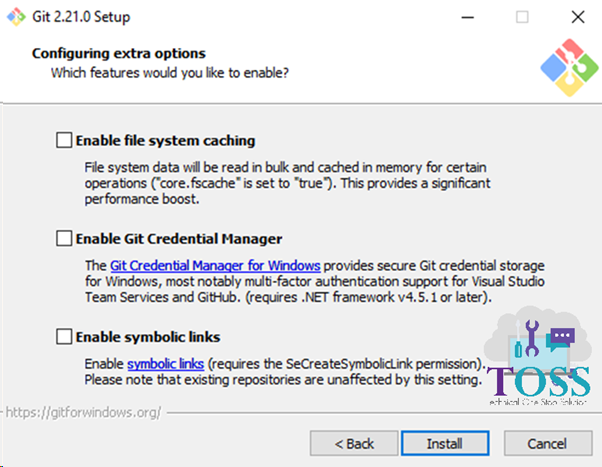
Extra Options you can select and click on ‘Next’
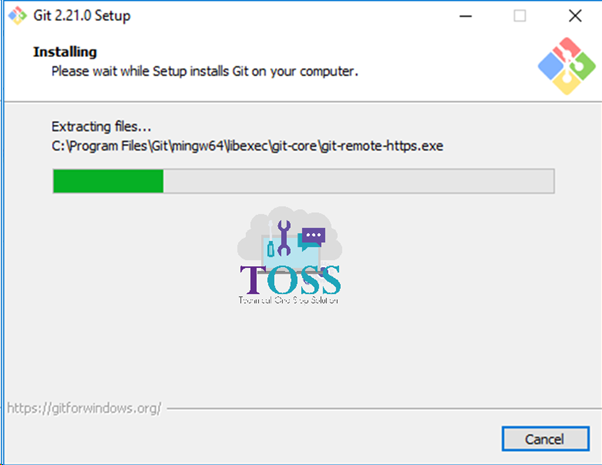
It will start installing
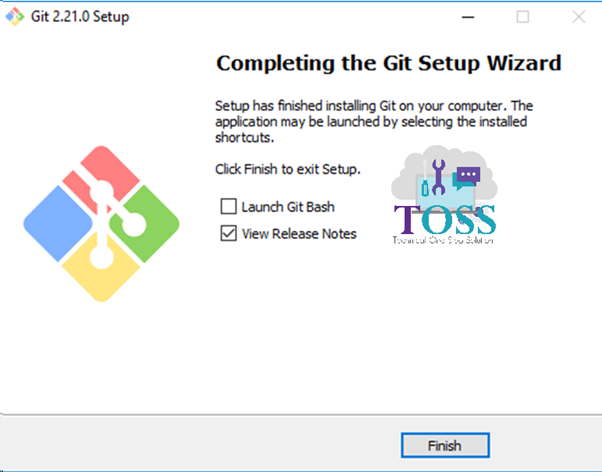
Once its finished Installing click on ‘Finish’