


Follow the below steps to Upgrade Cisco UCS Firmware

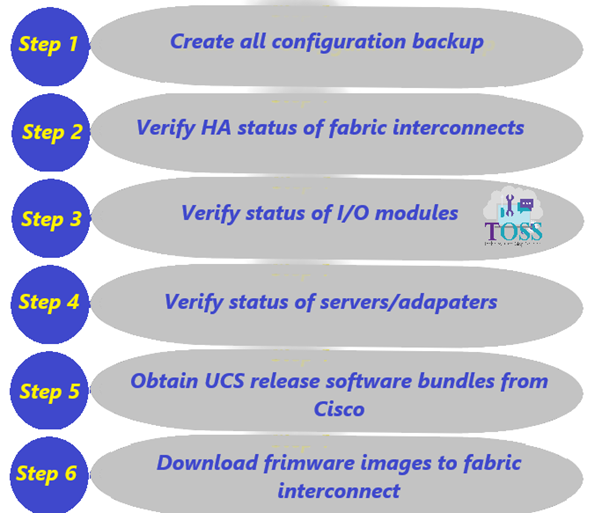
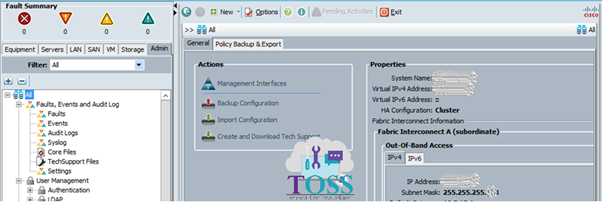
Step 1 : Make sure BackUp of the Configuration is in place
Go to Admin Tab – Select All – In Policy Backup & Export – the configuration can be done.

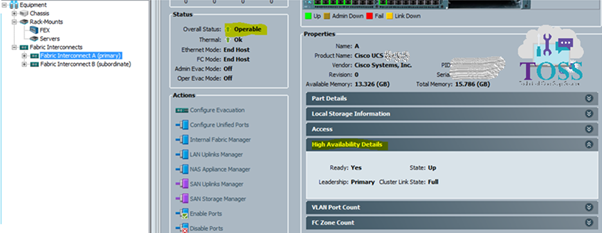
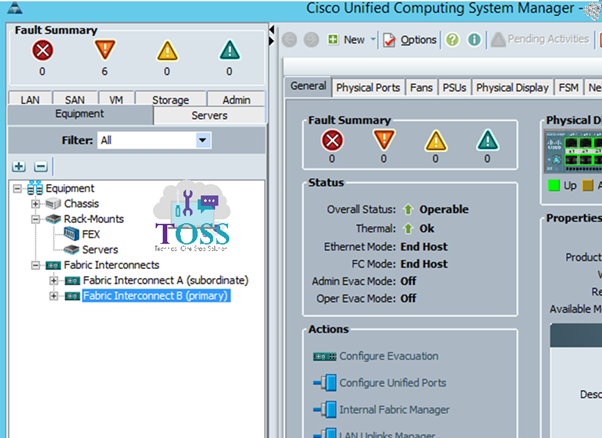
Step 2: Verify the HA Status of fabric Interconnects for FI-A and FI-B
Go to Equipment Tab – Expand Fabric Interconnects – Choose Fabric Interconnect A – Select High Availability Details
Note: Follow same to check HA status for FI-B

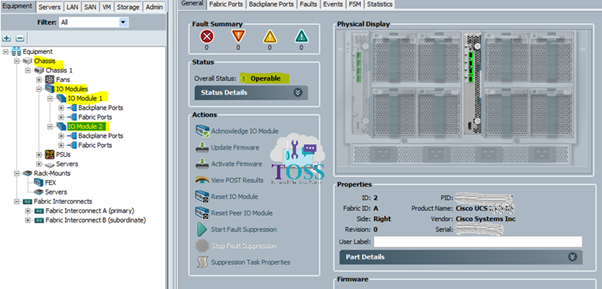
Step 3: Verify the Status of I/O Modules
Go to Equipment- Expand Chassis – Expand Chassis 1 – Choose IO Modules – Select each IO Modules and check the Overall Status

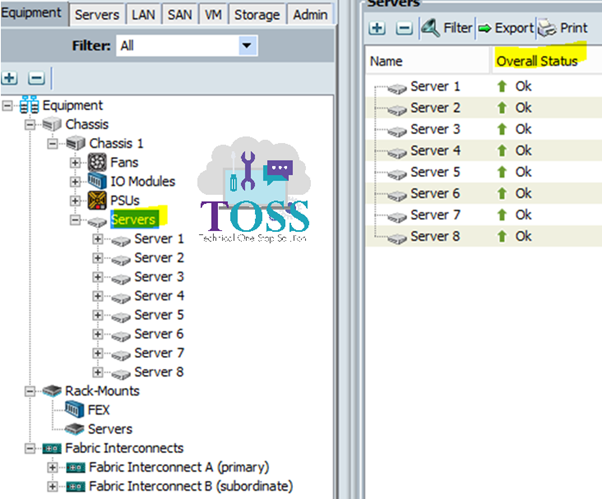
Step 4: Verify the Status of Server and adapters
Go to Equipment- Expand Chassis – Expand Chassis 1 – Choose Servers – Check the Overall Status of all blade servers

Go to Equipment- Expand Chassis – Expand Chassis 1 – Choose Servers – Expand each Blade Server and select adapter to check the Operation State


Step 5: Verifying the Upgrade requirement. Current is 2.2(7e)
Go to Cisco.com in the Release Notes we can get the Upgrade Path. We are upgrading from 2.2(7e) -> 2.2(8l)
Step 6: Verify the Interoperability by providing the Platform
URL to check – https://ucshcltool.cloudapps.cisco.com/public/
Step 7: Download the Firmware
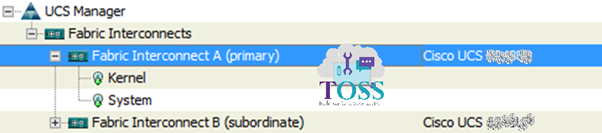
- Check the FI Model
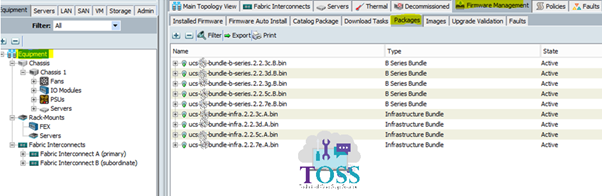
Select the Equipment tab -> select the Equipment tree ->then select Firmware Management tab- Select Installed Firmware – Expand UCS Manager – Expand Fabric Interconnects – Model of the FI will be provided.

2. Download the Cisco UCS Infrastructure Software Bundle based on FI Model based (A.bin) and B Series Bundle (B.bin)


Step 9: Verify the local storage of the FI-A and Fi-B before proceeding
Go to Equipment – Choose Fabric Interconnects – Select Fabric Interconnect A – Select Local Information and check the Bootflash Usage

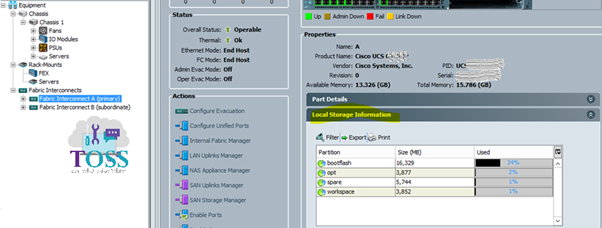
Note: Min 20% of free space should be available to Upgrade
- To free-up some space – delete the older bin files
Go to Equipment – Select Firmware Management Tab – Select Packages- Select older .bin packages and choose to delete.

Step 10: Upload Firmware Binaries to FI
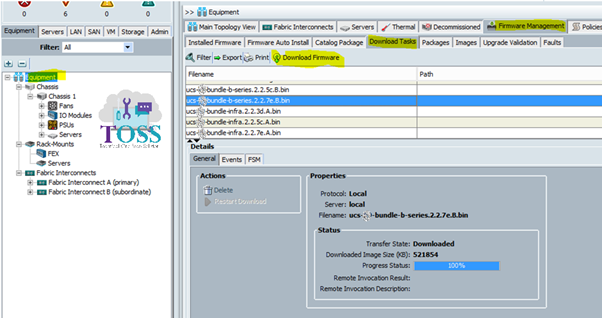
- Select the Equipment tab -> select the Equipment tree ->then select Firmware Management tab- Download Tasks – Click Download firmware
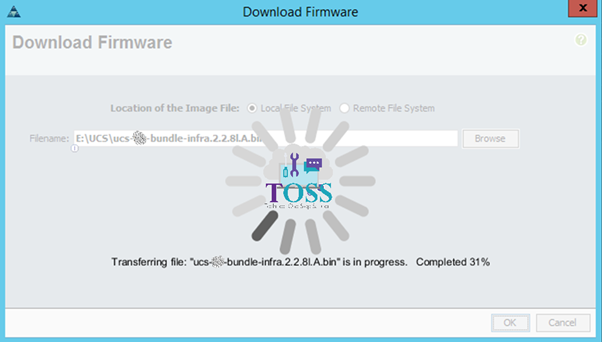
- Browse and Upload the Infrastructure Bundle – A.bin -> B.bin one by one

3. Progress to Download the Firmware

4. Status of Download Firmware

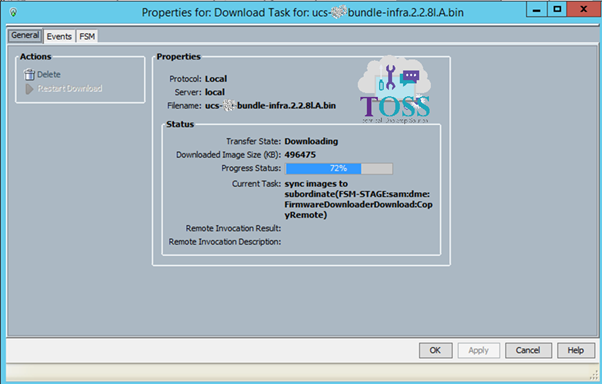
5. After you select Ok – It sync the images and can progress can be seen

6. Now we will perform the Upgrade, Installing the firmware and Activating the new firmware
Note: Takes approx. 1 hour to complete
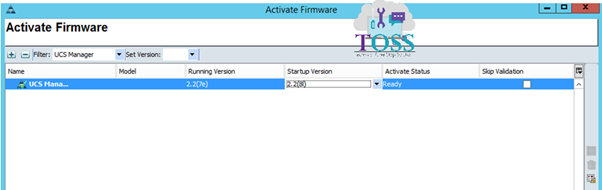
Step 10: Activate the Firmware for UCS Manager – ignore Compatibility Check
Go to Equipment – Select Firmware Management – Select Installed Firmware – Click Activate Firmware – In the Filter – Select UCS Manager – Drop down to select the new version of UCS Manager.

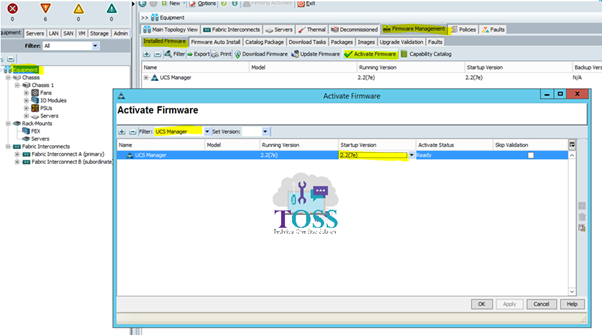

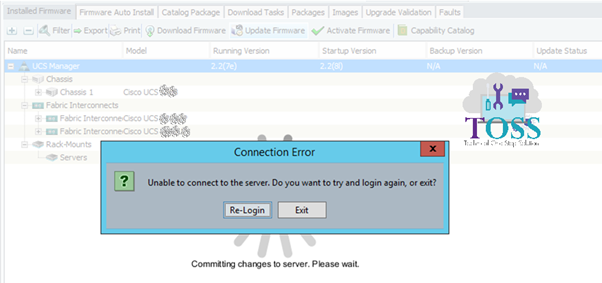
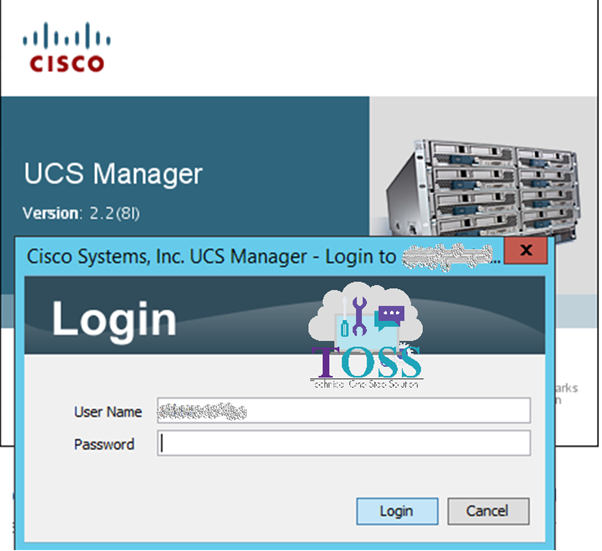
Note: UCS Manager activates – you will lose Web browser session – You have to login again – Wait for some time – and observe the new version while re-login again


Step 11: Upgrading the FI and I/O Modules
Note: This process will take approximately 20 to 25 minutes for each FI
- First perform the Upgrade of FI-B(sub-ordinate) and then do FI-A(Primary)
- After FI-B completion, Repeat same for FI-A
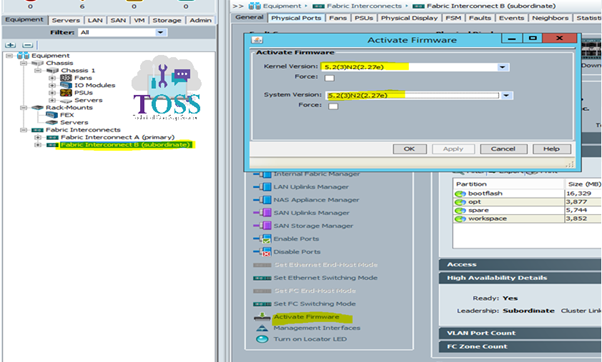
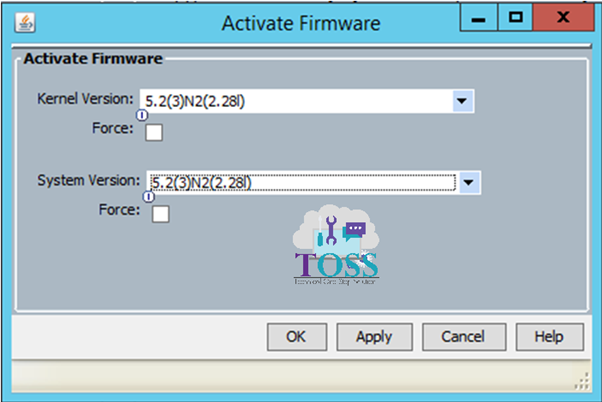
- Go to Equipment – Expand Fabric Interconnects – Select Fabric Interconnect B – Left Panel – Select Activate Firmware – Select the Newer UCS firmware version to upgrade – Apply


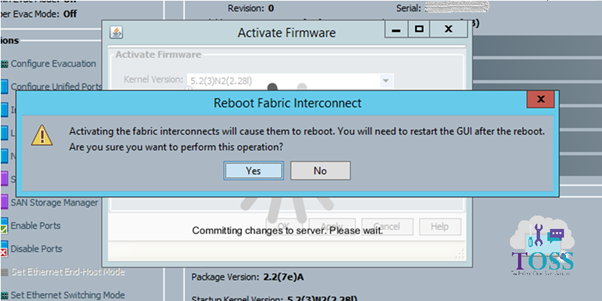
4. It reboots The Fabric Interconnect to take effect.

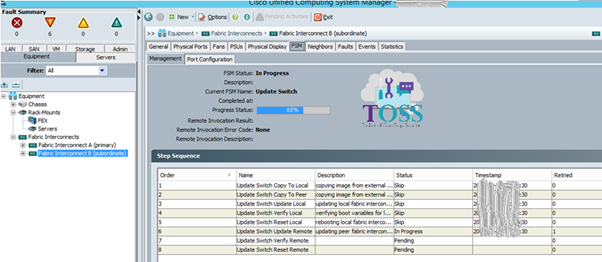
5. Use the FSM tab to monitor the progress of the firmware upgrade
Go to Equipment – Expand Fabric Interconnects – Select Fabric Interconnect B – Select FSM Tab

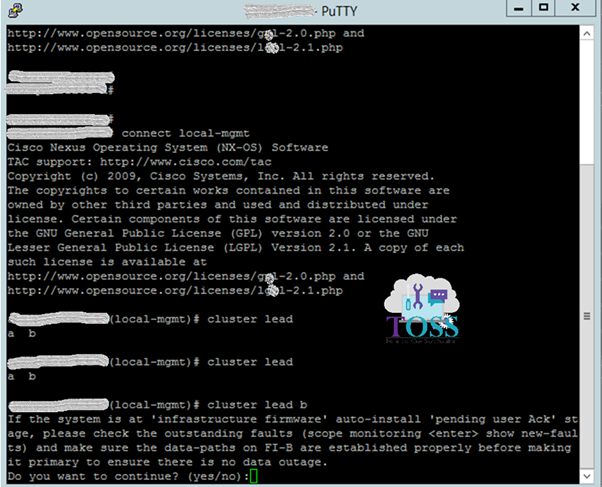
6. Connect via SSH directly to Fabric Interconnect IP address. Once connected you can run the below commands to make the newly updated fabric interconnect the lead FI within the environment. This stops your systems from going offline during the upgrade of the A fabric interconnect. The changeover will be pretty much instantaneous.
UCS-A# connect local-mgmt
UCS-A(local-mgmt)# cluster lead b
UCS-A(local-mgmt)#

7. You may lose connectivity to UCSM during this upgrade process as it’s the primary Fabric Interconnect that you are connected to and it will need to reboot. If this occurs just log into UCSM again and it will connect to the remaining Fabric Interconnect.
After re-login can see FI-B as primary and FI-A as subordinate


8. Now that both Fabric Interconnects have been upgraded you can go ahead and return to primary function back to Fabric Interconnect A. Please note that this is an optional step. Connect via SSH directly to Fabric Interconnect B IP address. Once connected you can run the below commands to make the newly updated fabric interconnect the lead FI within the environment. This stops your systems from going offline during the upgrade of the A fabric interconnect.
UCS-B# connect local-mgmt
UCS-B(local-mgmt)# cluster lead a
UCS-B(local-mgmt)#
Step 12: Upgrading Server Firmware
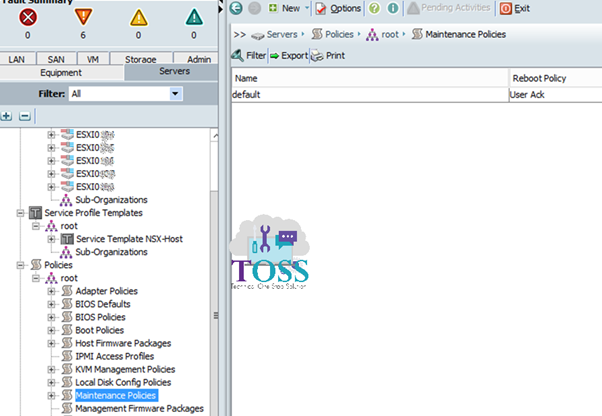
- Check the Maintenance Policy
Go to Servers Tab – Expand Policies – Select Maintenance Policies – Make Sure User Ack is selected.

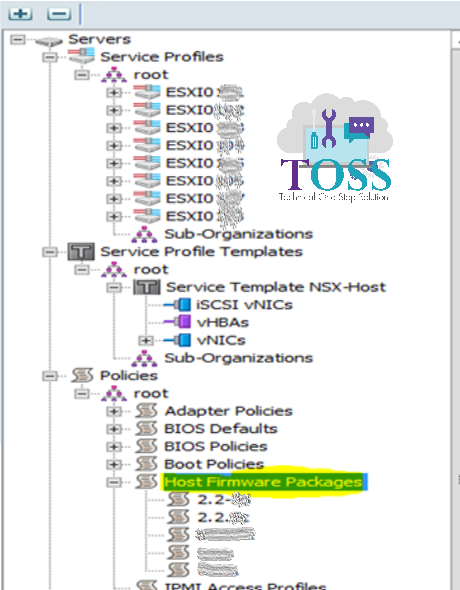
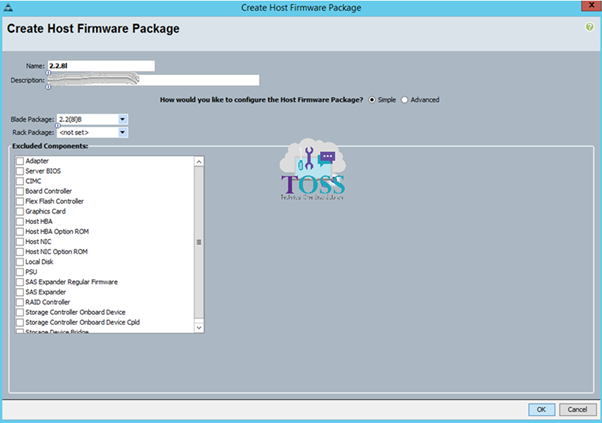
2. Create the Host Firmware Packages.
Select the Servers tab -> select the Policies tree -> expand Host Firmware Packages – right Click Create Host Firmware Package – Provide the Name and description – Select the new version Blade Package


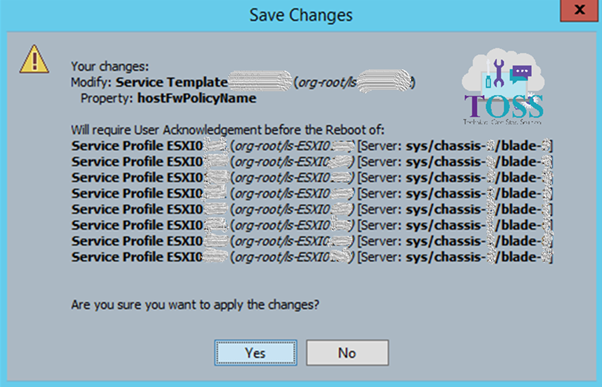
3. Apply the Host Firmware Package to the Blade Service Template
Select the Servers Tab – Select the Service Profile Templates – Expand Root – Select the Service Template applied for all Blade Servers- From drop down menu select the newly created Host Firmware policy and click Save Changes (To be done on Service Template Level)


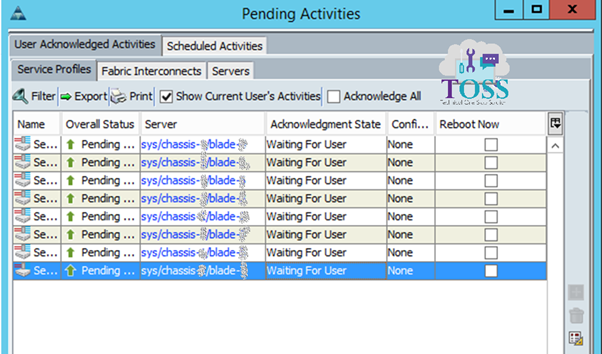
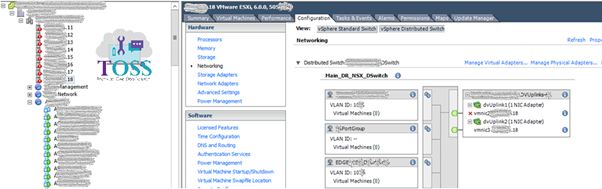
4. Now Manually Make the ESXi Server to enter to Maintenance Mode

5. Select the General tab and press Reboot now from the Pending Activities section. You can select Maintenance Host and select Reboot one by One
6. As part of the blade upgrade the following will be upgraded – BIOS, CIMC Controller and Board Controller. This can take between 35 and 60 minutes per blade
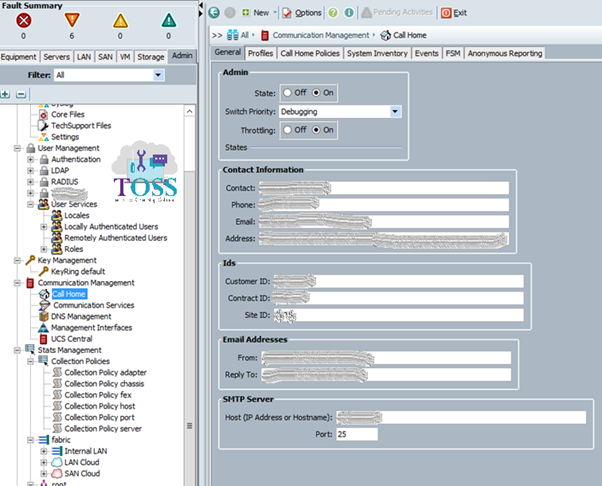
Step 13: Enable the Call Home
Step 14: Verify the FI, HA, Servers, Adapters operability Status